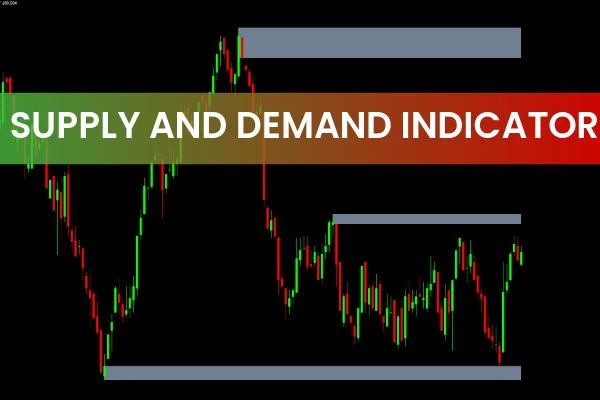
Supply And Demand zones are among the most fundamental concepts every Forex trader learns early on. These zones represent areas where the market historically reacted to buying or selling pressure. Even years after their formation, price often respects these zones, bouncing away or reversing upon contact.
For traders who find manually drawing these zones time-consuming, the Supply and Demand Zones Indicator for MT4 offers a precise and automated way to identify them. This tool saves valuable time while ensuring accurate zone recognition — a crucial factor for successful Forex trading.
The Supply and Demand Zones Indicator for MT4
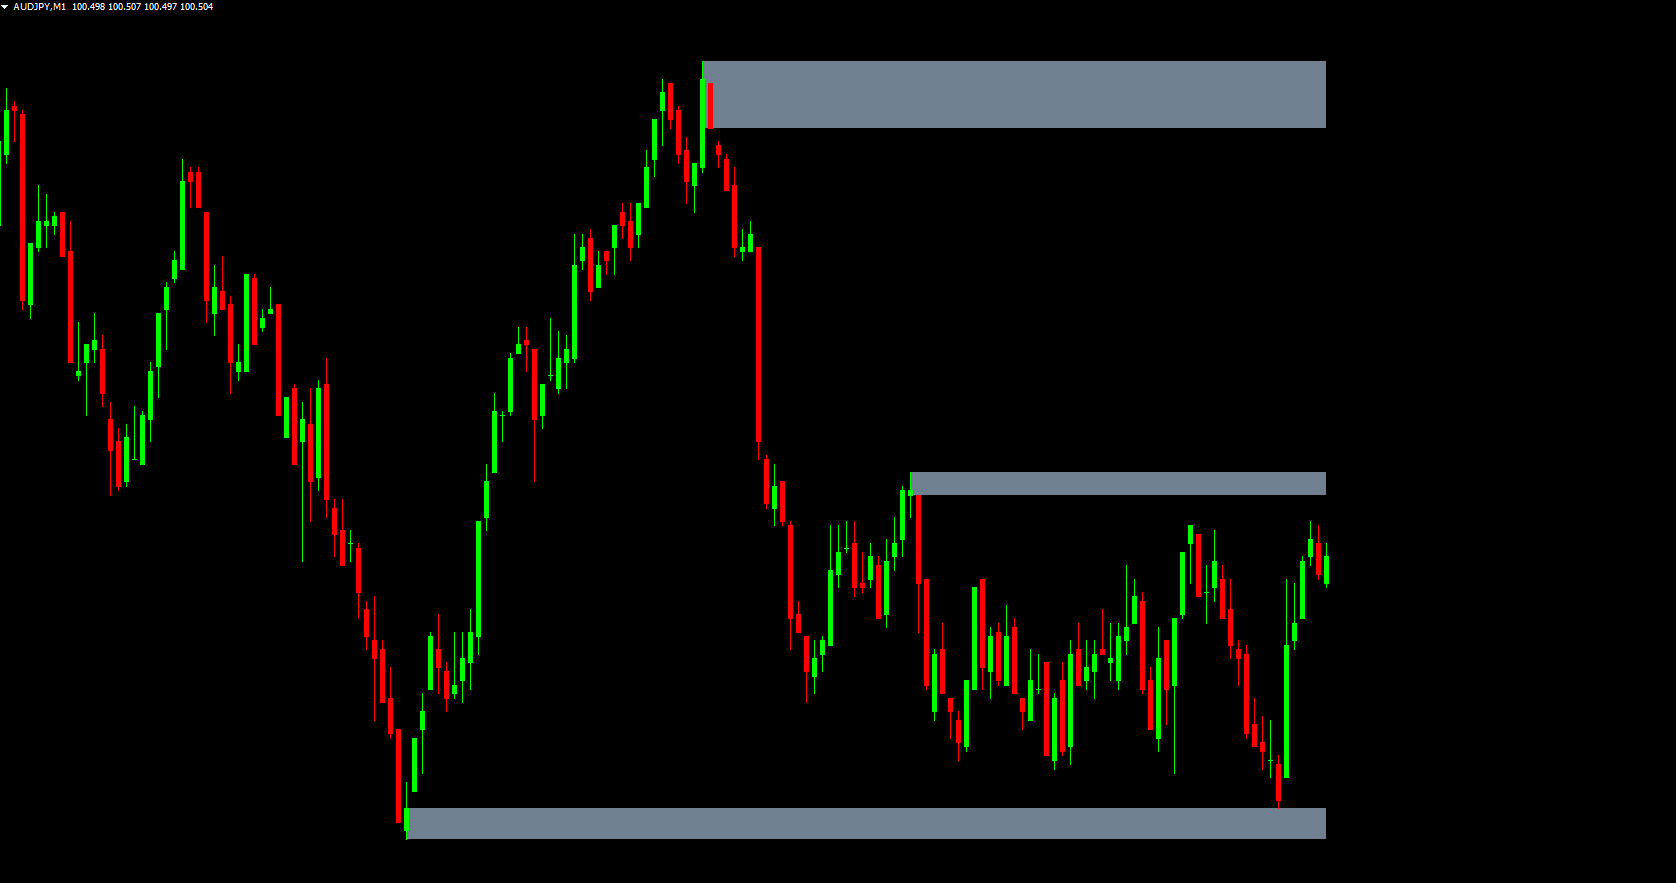
The Supply and Demand Zones Indicator automatically detects and plots supply and demand zones on your MT4 chart. These zones appear in two colors for quick interpretation:
White Zones: Recently retouched or tested zones — more reliable due to multiple price reactions.
Grey Zones: Untested zones — potential areas of interest for future price movement.
In addition, traders can enable Fibonacci retracement levels between zones through the indicator’s settings. This feature helps identify potential pullback or continuation areas, making the indicator even more powerful.
By automating zone identification, this indicator eliminates the need for manual analysis and reduces human error — helping both beginner and experienced traders find more accurate entries and exits.
How to Use the Supply and Demand Zones Indicator
Using this tool is straightforward. The supply and demand zones essentially function like support and resistance levels, where price reacts consistently.
Sell at Supply: When price enters a supply zone (typically where sellers dominate), traders anticipate a reversal downward.
Buy at Demand: When price hits a demand zone (where buyers are strong), a potential upward bounce is expected.
Key Tips:
Trust white-colored zones (tested zones) more than grey ones; they’ve already proven reliable.
Use grey zones to observe potential new opportunities — these may develop into strong future zones.
Combine this indicator with confirmation tools like candlestick patterns or volume indicators for higher accuracy.
The general rule remains: sell high in supply, buy low in demand.
Who Can Benefit from the Supply and Demand Zones Indicator?
This indicator is designed for traders of all experience levels, from beginners to professionals:
Beginner traders: Ideal for those struggling to manually identify Support And Resistance areas.
Intermediate traders: Useful for refining entry points and enhancing strategy consistency.
Professional traders: Even seasoned traders can use it as a confirmation tool to verify their manual zones.
While professional traders may already have their own methods for zone drawing, the accuracy and efficiency of this indicator make it an excellent supplement to any trading approach.
A Closer Look at Supply and Demand Zones
Construction
Demand Zones: Form where price rises sharply — indicating strong buying interest. When revisited, these zones often lead to renewed buying pressure.
Supply Zones: Form where price drops sharply — showing aggressive selling activity. When revisited, sellers often regain control.
Types
Fresh Zones: Newly created and untested zones; considered strong due to unfilled orders.
Tested Zones: Have already been revisited by price; still valid but gradually lose strength over time.
Supply and Demand Zones vs. Support and Resistance Levels
Feature
Supply & Demand Zones
Support & Resistance Levels
Range
Cover broader price areas
Represent specific price points
Basis
Derived from volume and order flow
Based on historical price touches
Best for
Medium to long-term trading
Short-term strategies
While both tools are useful, supply and demand zones provide a more dynamic and realistic view of market behavior.
Pros and Cons of the Supply and Demand Zones Indicator
Pros
Accuracy: Provides reliable entry and exit points based on genuine market behavior.
Longevity: These zones remain valid over long periods, making them ideal for swing and position trading.
Cons
Complexity: Without the indicator, manually identifying zones can be difficult.
Uncertainty: Broader zones can create ambiguity in pinpointing exact entry points.
Final Thoughts and Call-to-Action
The Supply and Demand Zones Indicator for MT4 is an invaluable tool for traders who rely on technical analysis and want precise, automated market zone detection. By highlighting both tested and fresh zones, it helps traders make informed decisions and improve trade timing.
Enhance your Forex strategy today — download the Supply and Demand Zones Indicator for MT4 free at IndicatorForest.com and explore more custom MT4 indicators designed to boost trading performance.
FAQ
12 Downloads
Published:
Nov 11, 2025 03:01 AM
Category: