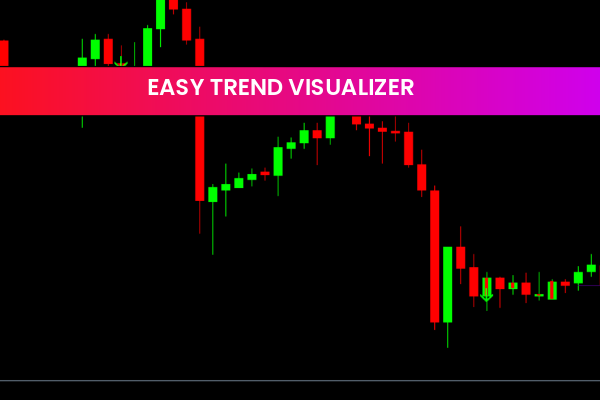
Master Institutional Price Action with the Shved Supply Demand Indicator
In the world of professional Forex trading, success isn't about chasing indicators—it's about understanding where the "smart money" is positioned. The Shved Supply Demand Indicator for MT4 is a premier technical tool designed to automate the complex process of identifying institutional zones where significant buying and selling pressure originates. By highlighting these critical areas, this indicator allows retail traders to align their strategies with major market participants.
The Core Concept of Supply and Demand
Unlike traditional Support And Resistance, which often focus on individual price peaks and troughs, Supply and Demand trading focuses on "zones" of accumulation and distribution. A Supply Zone is an area where sell orders overwhelmed buy orders, leading to a sharp price drop. Conversely, a Demand Zone is where massive buy orders were triggered, causing price to rally.
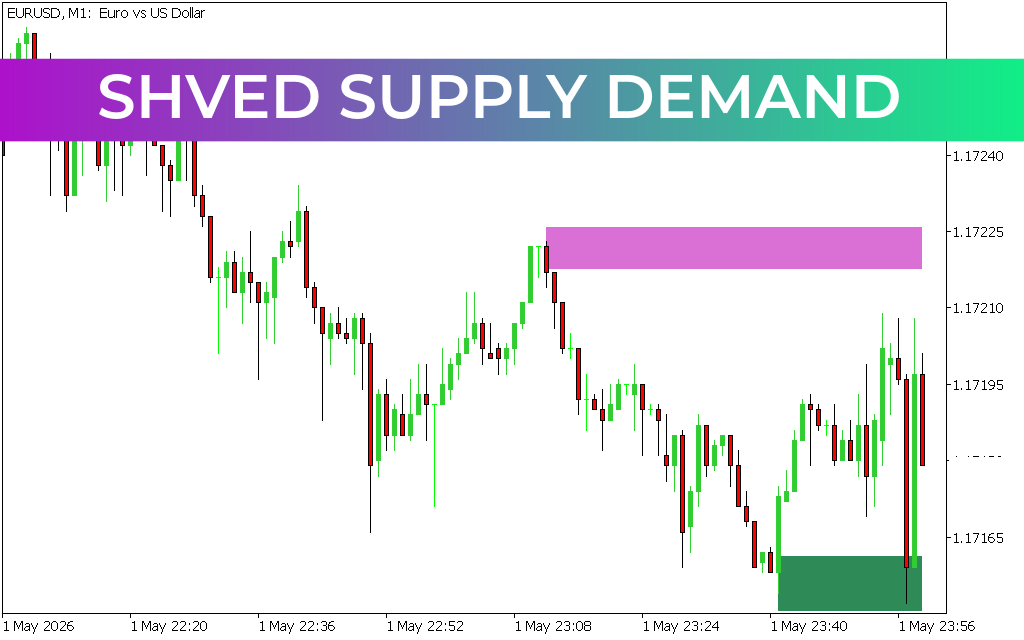
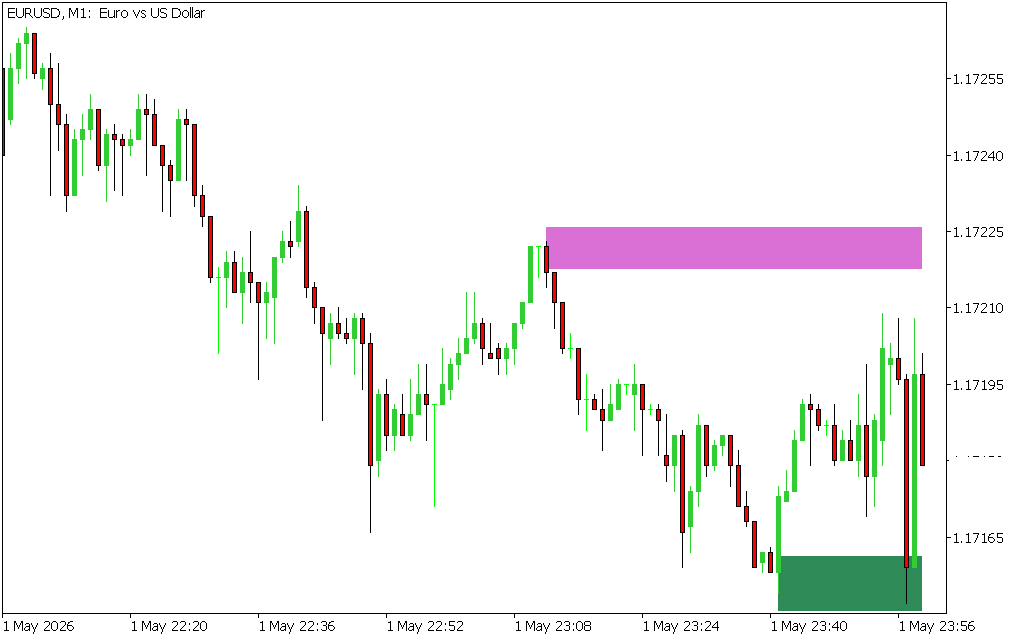
As demonstrated in the EUR/USD M1 chart, the Shved Supply Demand indicator visualizes these areas using intuitive color-coded rectangles:
- Purple/Red Zones: Represent Supply (Resistance). These are "Sell" zones where price has historically encountered heavy selling pressure.
- Green/Blue Zones: Represent Demand (Support). These are "Buy" zones where price has previously found strong institutional interest.
Why Traders Prefer Shved Supply Demand
The Shved version of this classic methodology is highly regarded for its precision and automated logic:
- Automated Zone Detection: Drawing valid zones manually is an art form that takes years to master. This indicator uses a proprietary algorithm to identify "strong" vs. "weak" zones based on the speed and volume of the departure from a price level.
- Dynamic Updating: The indicator continuously scans the market. When a zone is "broken" or "consumed" by price, it is automatically removed or updated, ensuring your chart only displays relevant, fresh data.
- Visual Clarity: By shading the zones directly on the chart, it provides an immediate "map" of the market. Traders can see exactly where price is likely to stall or reverse without cluttering the screen with unnecessary lines.
- Risk Management: Supply And Demand zones provide natural levels for stop-loss and take-profit placement. Placing a stop just outside a demand zone ensures you are protected by institutional order flow.
Professional Trading Strategies
The most effective way to use the Shved Supply Demand indicator is through Rejection Trading. When price returns to a previously identified Demand zone, look for bullish Candlestick Patterns (like pin bars or engulfing candles) as a signal that the big players are defending that level again.
For breakout traders, the indicator acts as a "gatekeeper." If price is approaching a major Supply zone, you might avoid taking a long position, even if other indicators suggest a buy. By respecting these institutional boundaries, you significantly reduce the risk of getting caught in a "bull trap." Whether you are Scalping the M1 timeframe or swing trading the Daily chart, the Shved Supply Demand indicator provides the structural framework necessary to trade with institutional precision.
10 Downloads
Last Update:
May 02, 2026 22:33 PM
Published:
Jan 28, 2026 23:33 PM
Category: